
Last Modified:
| Table of Contents | ||||||
|---|---|---|---|---|---|---|
|
| Info |
|---|
This process will show how to assign and update Nextsteps checklists |
| Info |
|---|
***BEFORE assigning NextSteps checklists for the first time each term:
|


Saving a List of IDs
:Save
a list of IDs as a CSV (Comma delimited) file to assign a checklist for
FTF
LDT/XFR UDT
FTF and transfers must have different CSV files as the checklist code is different.
OR
Save lists of IDs (column 1) and and checklist item (column 2) as separate txt. CSV files to assign and complete and/or assign checklistor just complete the checklist
Upload file
Navigate to:
2. Navigate to CSU
Baseline>CSU Student
Records>FTP>Use>FTP
CSU SA Baseline>CSU Utility>FTP>FTP Utility to upload file
32. FTP Target must be sjadft
admissions
4Admissions (sjadftp)
3. Click Upload File button
54. Choose File
65. Click Upload button7

6. Copy file name
87. Open a new window to navigate

Checklist Assignment
Navigate to: SJSU Campus Solutions>Campus Community>Checklist Assignment
98. Enter your Run Control ID. Create one if necessary

109. Verify Function is ADMA 11
10. Verify Institution is SJSU
1211. Blank out Checklist Date Time Date Time
1312. Enter Checklist Code
Ex: NSFS17 NSFS21 = FTF Spring 2017 2021
EX: NSTS17 NSTS21 = UDT/LDT Spring 2017 2021
Ex: NSIF17 NSIF21 = FTF Fall 2017 2021
EX: NSIT17 NSIT21 = UDT/LDT Fall 2017 2021
1413. Enter Checklist Status
Initiated = assign a checklist
Completed = to assign and assign and complete or just complete a checklist
1514. Verify File Path is is: /optCSUFTPP/apps/hrpsoft/xfer/in/sja dftp/ 16sj/sjadftp/
15. Paste file name from the FTP Utility process
1716. Go to Checklist Assignment Checklist Assignment 2 tab
∙ Choose Undergrad from Acad Career drop drop-down menu
1817. Go back to Checklist Assignment 1 tab
Click Save
Click Run

1918. Choose SJ Checklist Assignment Checklist Assignment to add a
checklist
OR
Choose Update checklist item status to complete a checklist
2019. Click OK

2120. Click on Process Monitor

2221. Press Refresh until:
Distribution Status says Posted says Posted
Run status says Success
If you receive an error, something went wrong

22. Click on details the Actions button. Verify out
Select View Log/Trace.

Click the .out file to verify the file has the
same number as what you started with
What to Expect to See:
24.


| Info |
|---|
NOTE: If NS checklists are assigned much later than the Letters are Printed, there’s a chance students have gone into NextSteps and completed the steps. In this case, double check the appite_Session:: SessionDescription field. |
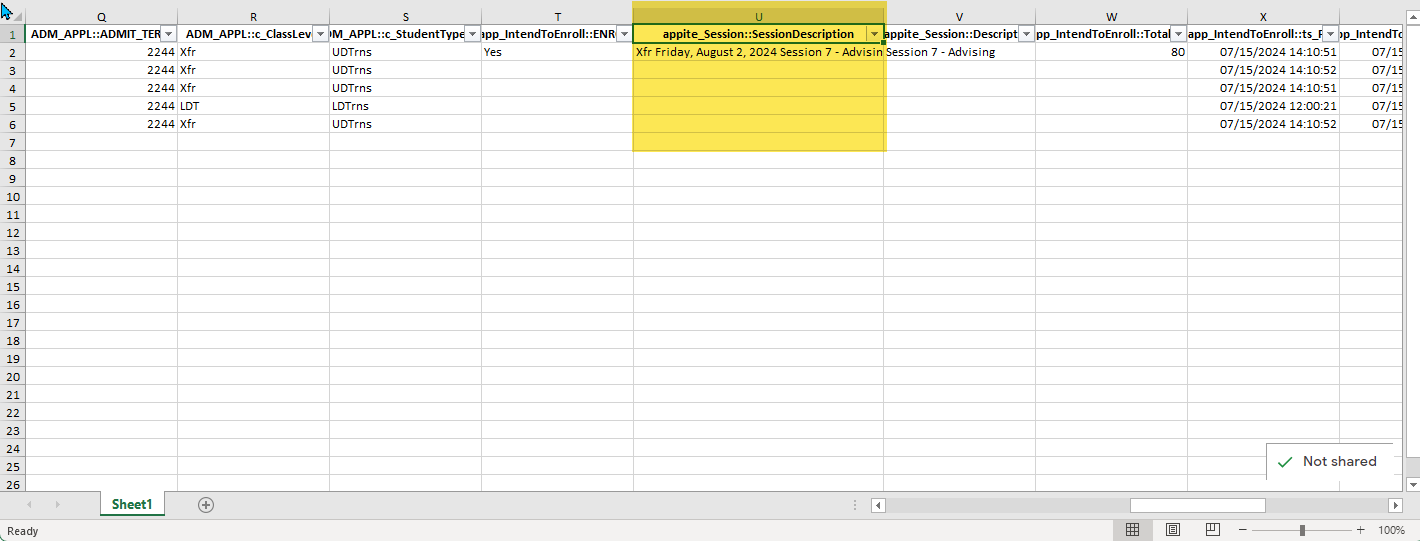
If a student has already completed all 3 steps, go in and complete the checklist.
Navigate to Checklist Management. Click the 2nd tab, Checklist Management 2. Change Status from Initiated to Completed. Click Save.

Checklist view
25. Navigate to:
Main Menu>Campus Community>Checklists> Person Checklists>Checklist
Management – PersonVerify checklist looks as
expectedThis part is instant


Student Center view
26. Navigate to:
Main Menu>Campus Community>Student
Services Ctr (Student)
Make sure the NextSteps Intent to Enroll checklist is on the to-do list
Click More to view details
| Info |
|---|
|
Click

Click the NextSteps Intent to Enroll link to view the checklist description

Verify description is accurate
Verify admissions email is showing
Verify nextsteps website is showing and links to a separate windowa separate window

| Info |
|---|
|