Very Important: Not all departments or advisors use Spartan Connect yet. Verify with your department (check their website) if they use a different system.
Appointments now have Meeting Types that indicate the modality of the appointment (Virtual, In-person, etc.)
Before you begin
It's best to know what kind of appointment you're looking to setup before diving in. It's also important to know if your advising department, advisor, tutor, etc., actually uses Spartan Connect for scheduling appointments. If you don't know, check their website.
More than just academic advising appointments can be scheduled in Spartan Connect! It’s also used for Tutoring & Mentoring, Career Counselling, Workshops & Events, Housing RA/RLC meetings, and more.
Making an Appointment
This guide shows how to make an advising appointment. Other kinds of appointments may follow a similar, yet slightly different, path.
Getting Started
1. Start at your Spartan Connect Student Home page
You can also go to One.SJSU.edu and search for "Spartan Connect."
2. From your homepage, find the Appointments, Drop-ins, and Workshops & Events button, on the right sidebar.

This guide chooses generic options for each dropdown. You should be choosing options that make sense for the type of appointment you're trying to schedule!
Specify the Service Area and Service
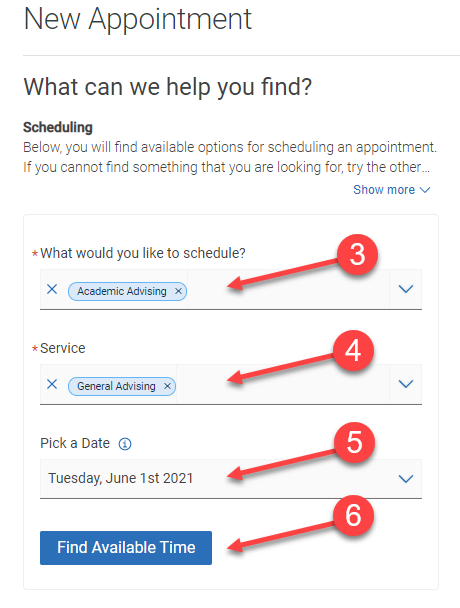
3. What would you like to schedule?
This dropdown has choices like Advising, Career, Tutoring/Mentoring, and SJSU Workshops & Events
4. Choose the more specific appointment reason.
5. Pick the start date to look for appointments. You’ll be shown available appointments from that date to 30 days in the future.
6. Click on the Find Available Time button to begin the search.
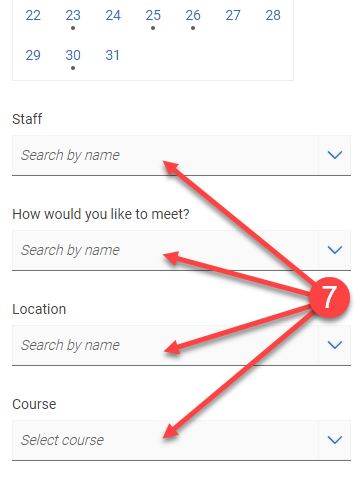
If there are multiple location choices, make sure you choose the one that makes the most sense for the appointment you're scheduling! Read the description!
7. Additional filters are available to narrow down the appointments displayed.
“How would you like to meet?” You can choose the meeting type (or modality) for your appointment for most appointments.
8. Select your desired time slot from the listed availabilities.
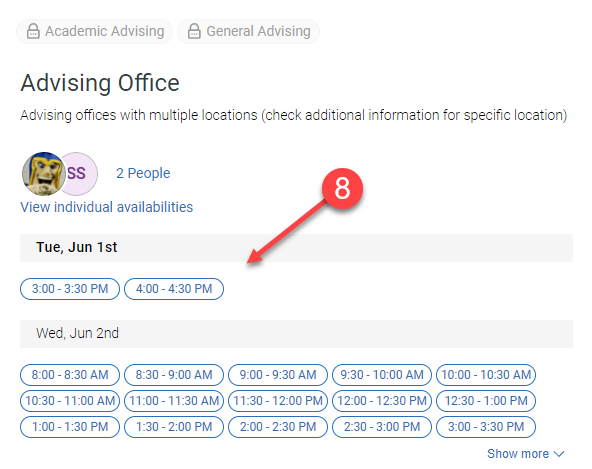
Important! Until you click the Schedule button, the appointment is not saved! Do not leave the page without scheduling!
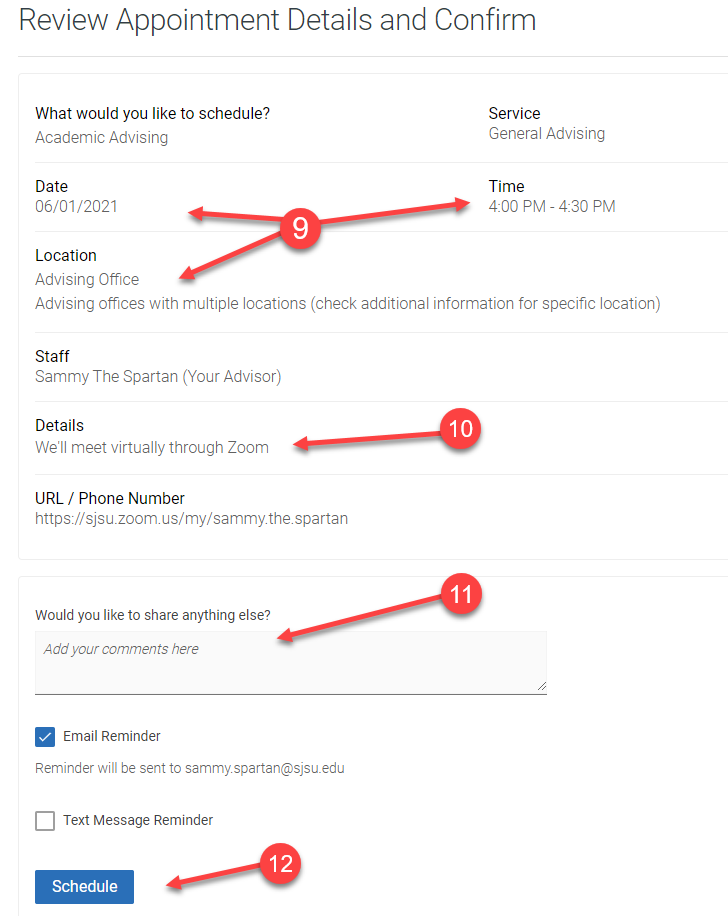
9. Review the appointment details for accuracy, making note of the date and time as well as location.
10. Pay close attention to any Details as this will list important information.
11. Optionally, add any relevant comments for this appointment.
Text message reminders are not currently available and this option cannot be checked at this time.
12. Click the Schedule button to finalize and create the appointment.
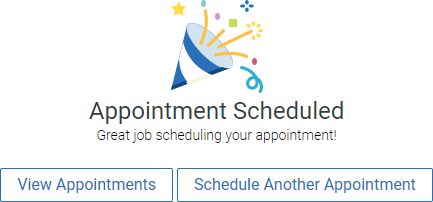
The appointment is created and the system displays a confirmation:
Cancelling an Appointment
Return to the Appointments, Drop-ins, and Workshops & Events page, as seen in step 2 of this guide.
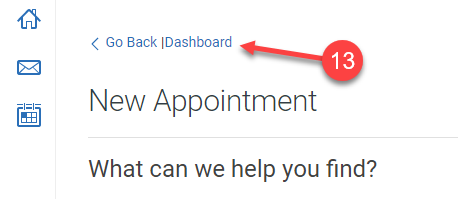
13. Click on the Dashboard link at the top left of the page.
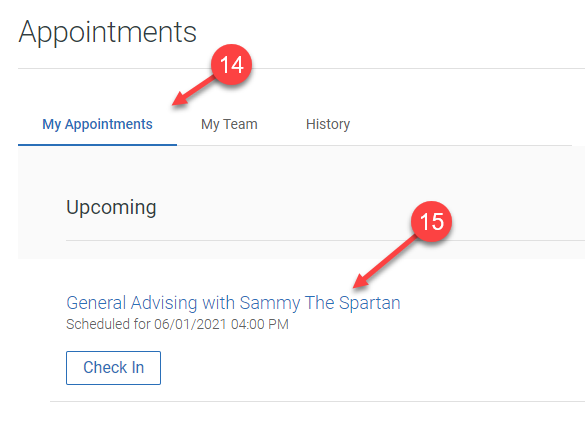
14. Select the Appointments tab.
15. Choose the appointment to review and cancel.
16. Click the Cancel Appointment link at the bottom of the page.

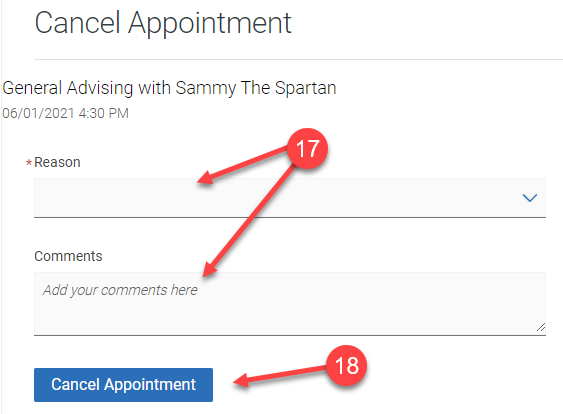
17. Choose the reason and add any comments.
18. Confirm the cancellation by clicking on the Cancel Appointment button.
The appointment is cancelled and the system displays a confirmation:
Frequently Asked Questions
Why can’t I see a specific appointment day or time even though I know it should be available?
The system will not allow students to schedule when there are any time conflicts with an appointment timeslot. This is most commonly seen when a student looks for appointments that cross over times when they are already scheduled to be in class.
What happens if I no-show for an appointment or cancel too close to the start time?
See the information on the Spartan Connect No-Show Policy.
Why don’t I see a confirmation or reminder email for my appointment?
Automated confirmation and reminder messages are sent to your preferred email address (as marked in MySJSU). Review your current preferred email address by navigating to the Email Addresses page at Main Menu > Self Service > Campus Personal Information > Email Addresses in MySJSU.